Getting Started with the Amazon Swagger Importer
Author: Ole Lensmar
Earlier this year, Amazon Web Services (AWS) launched its Amazon API Gateway – a full-fledged offering for managing APIs running in the cloud on a number of platforms. The API Gateway empowers you to manage all aspects of your APIs, including the possibility to define and update API definitions managed by the Amazon API Gateway. As part of the launch, AWS also created a command-line tool which allows you to use a Swagger definition to create or update an API in the Amazon API Gateway. The Swagger Importer is available on GitHub for anyone to use given you have an AWS account.
“Building and running rock-solid APIs at massive scale is a significant challenge for customers. And yet, this is one of the most important ingredients for building and operating modern applications that are consumed through multiple devices. To help customers overcome this, we introduced the Amazon API Gateway,” said Marco Argenti, Vice President, AWS. “Releasing the Swagger import tool is a significant milestone for Amazon API Gateway, as it allows our customers to interact with the service without changing their existing workflow in any significant way. By using Swagger for their API definitions, AWS customers can also leverage all the open source tools already available for Swagger such as documentation generation.”
Let’s do a quick step-by-step walkthrough of how you can use this tool to import your Swagger definitions into the Amazon API Gateway.
Step 1 – Create an AWS Account
If you don’t already have an AWS Account – now is the time to create one. Once signed up you can access the API Manager from the AWS Dashboard:
Step 2 – Clone the GitHub repository containing the importer and build it locally
This requires some tech-savviness on your end; you’ll need a git client, java 8 and maven all installed locally. First create an empty directory on your machine and run the following command in it:
git clone https://github.com/awslabs/aws-apigateway-swagger-importer.git
Once the repo is cloned – build the tool with.
mvn assembly:assembly
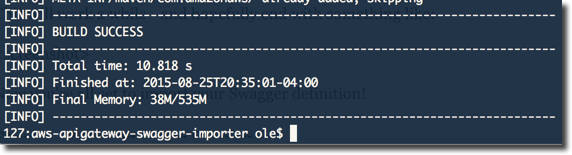
This will chug along for a while – and hopefully end with an output like:
Step 3 – Install and configure the Amazon Command Line Interface (CLI)
Download for your OS from http://aws.amazon.com/cli/ and configure as described at http://docs.aws.amazon.com/cli/latest/userguide/cli-chap-getting-started.html so your system is set up for accessing your AWS account.
Now you’re all set to import your Swagger definition!
Step 4 – Import your Swagger!
Importing is easy – make sure you have the local path to your Swagger 2.0 definition available and run the following (still in the folder of the aws importer that you built above)
/aws-api-import.sh –create
If all goes well you should get an output similar to

(the file imported is the swagger sample available at https://github.com/swagger-api/swagger-spec/blob/master/examples/v2.0/json/petstore-minimal.json)
Switching back to the API Manager console at AWS should reveal your API there:
Drilling down to the imported method brings you to

Awesome – now you’re all set to start managing your API via Amazon – read on about Lambda functions (or HTTP Proxies) at http://docs.aws.amazon.com/apigateway/latest/developerguide/getting-started.html
Step 5 – Dig in!
That’s it – quite painless actually – but we’re talking Swagger and AWS after all, so what did you expect. Enjoy!